
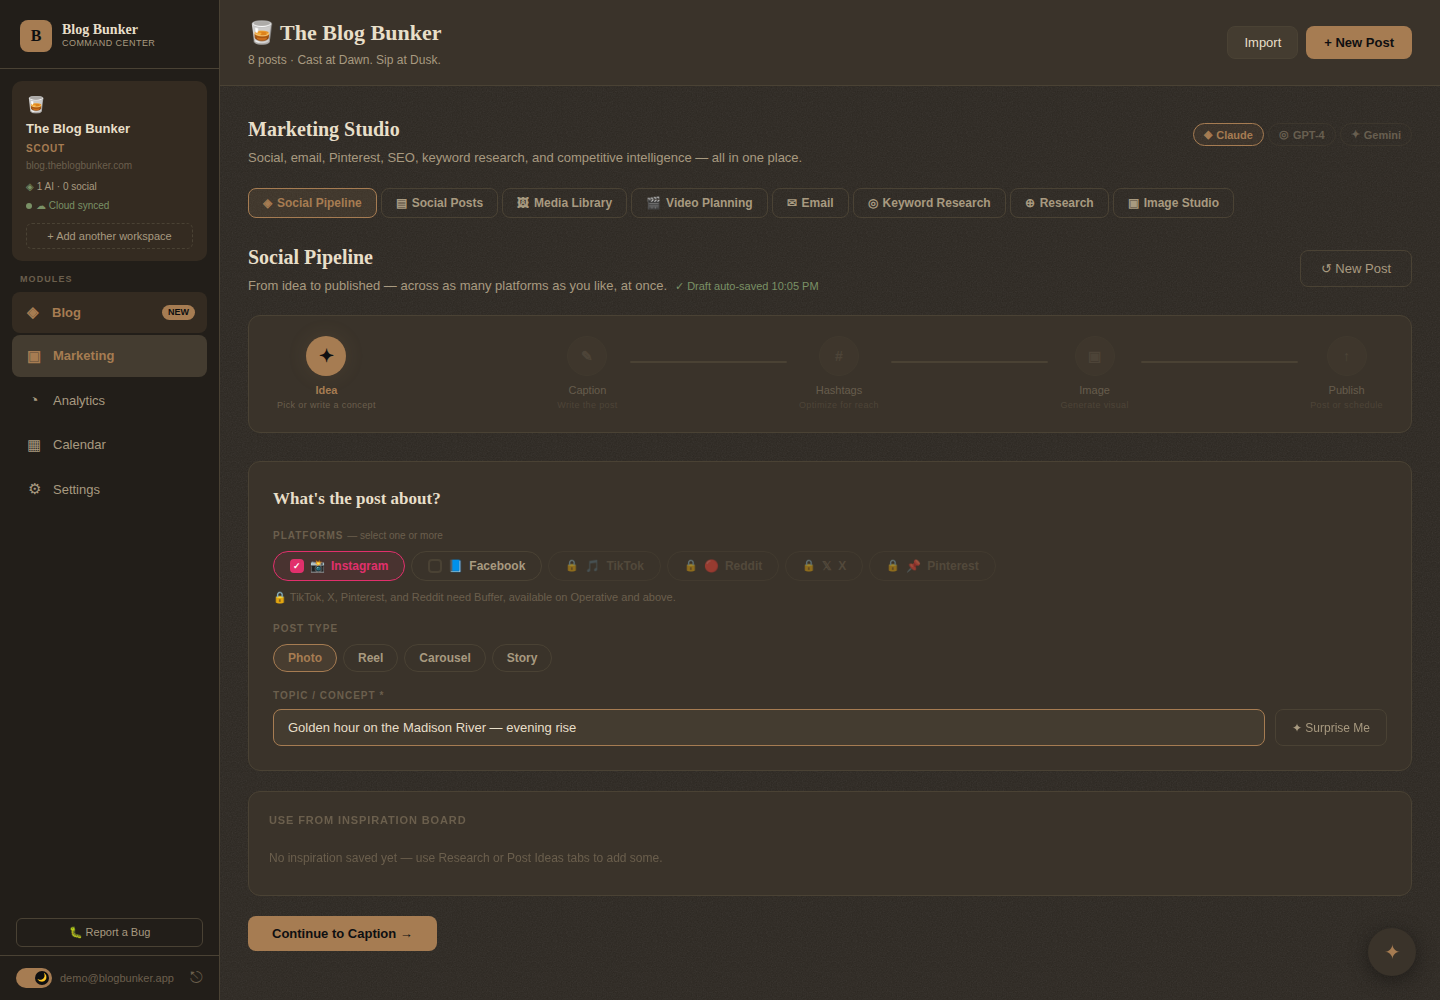
The Social Pipeline works the same way the Article Pipeline does — one idea moves through a fixed set of stages, in order, and comes out the other side ready to go live. Five stages this time: Idea, Caption, Hashtags, Image, Publish.
Stage 1: Idea
Start with a concept — as short as a phrase. This can be a fresh idea, or a post you’re repurposing from something you already wrote in the Article Pipeline. Either way, pick which platform(s) you’re posting to before moving on, since everything downstream is built around that choice.
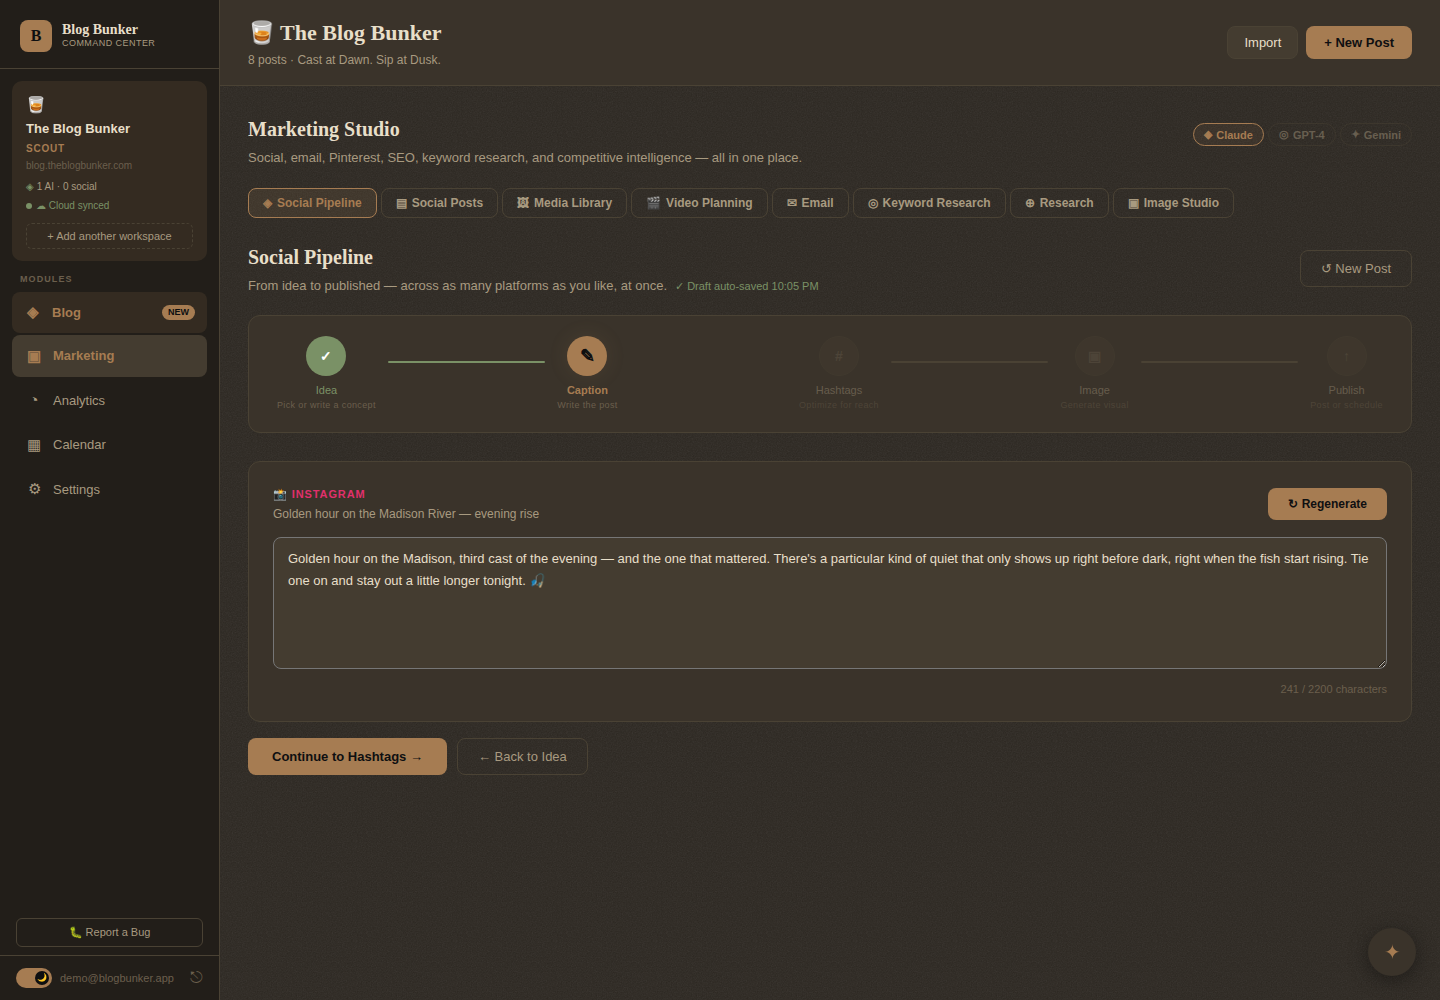
Stage 2: Caption
Click Write Caption and Blog Bunker drafts the post copy for you — in your Brand Guide’s voice, sized to whatever platform you picked. Not happy with it? Edit directly in the box, or regenerate. Nothing here is final until you say so.
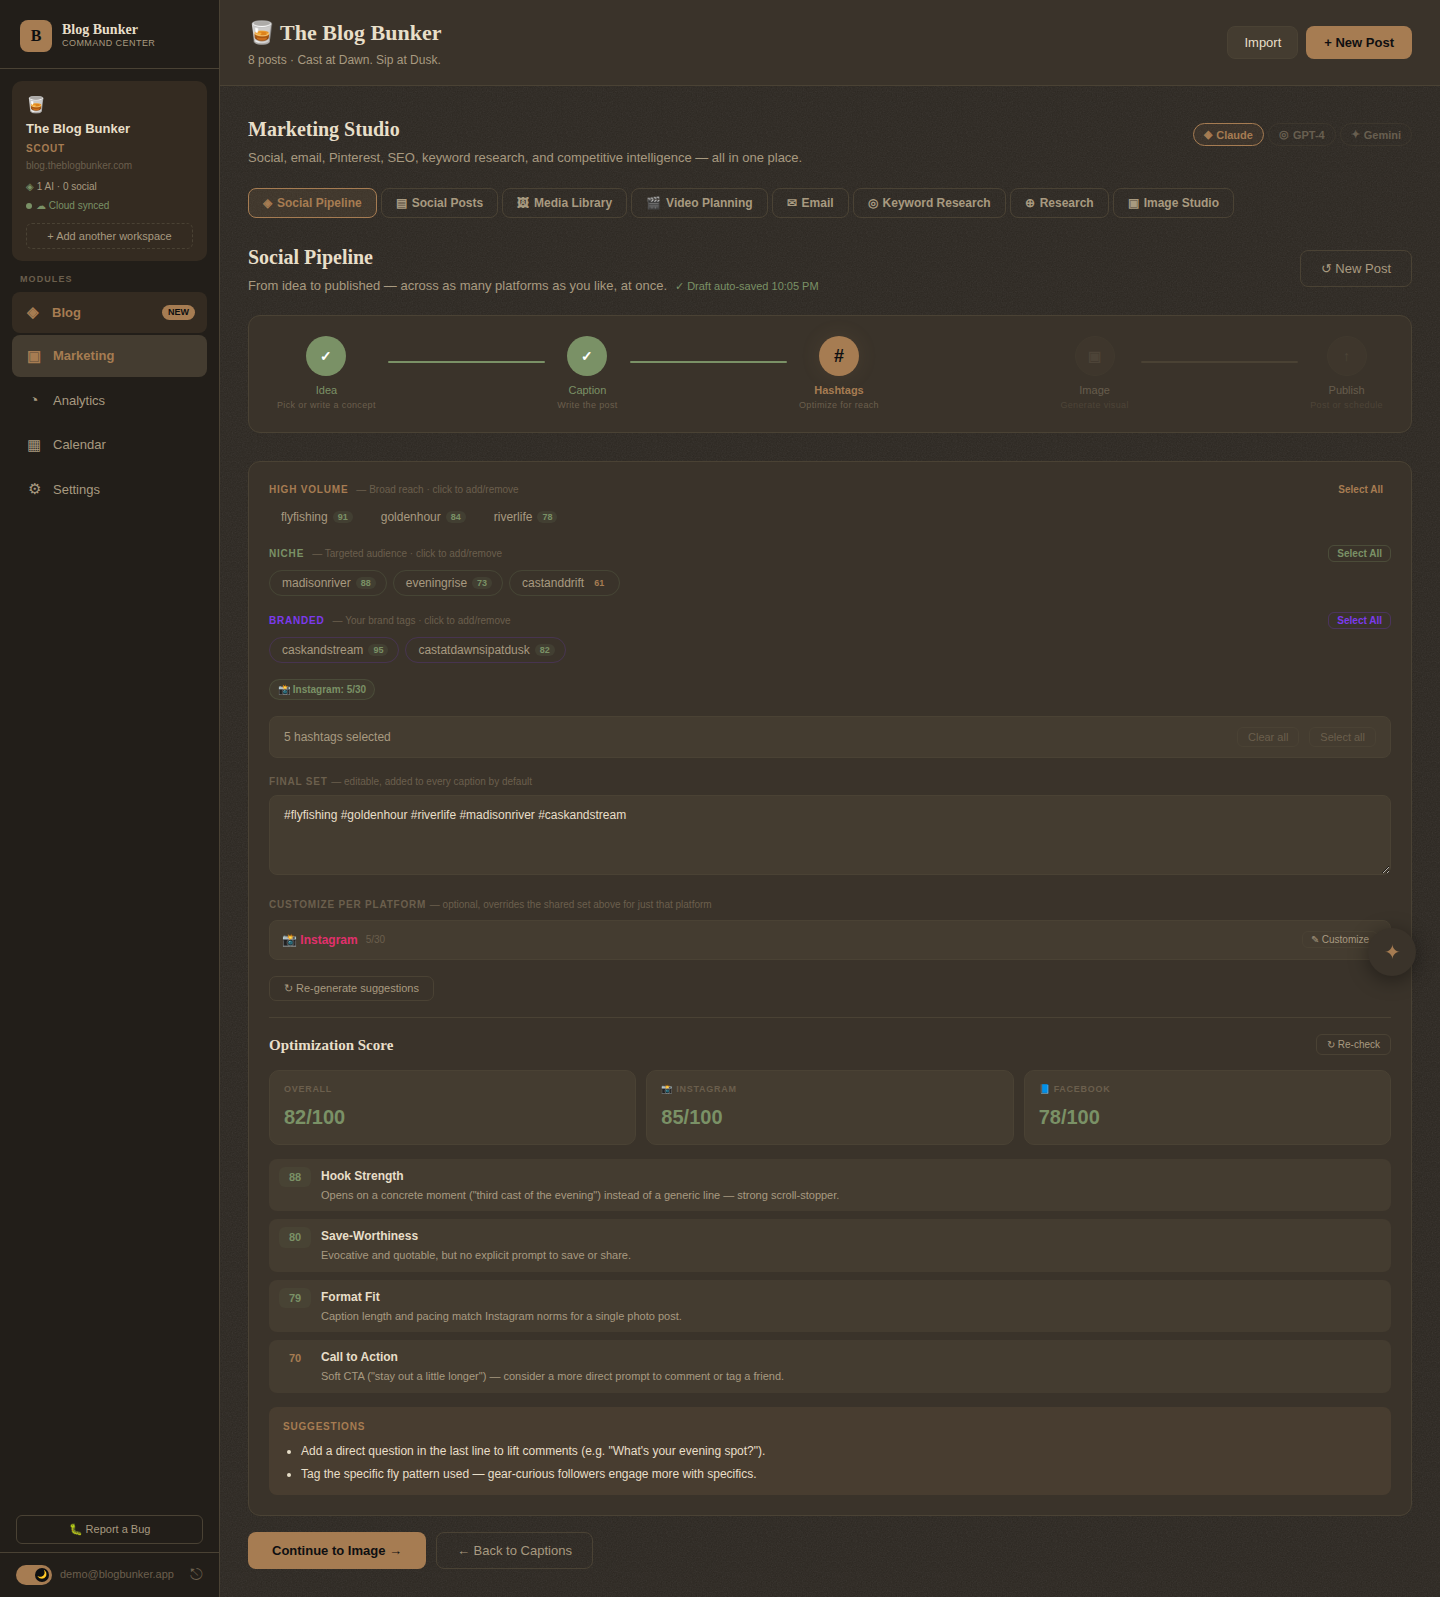
Stage 3: Hashtags
This stage does more than suggest tags — it scores the post itself. You’ll see an Optimization Score breaking down things like Hook Strength, Save-Worthiness, Format Fit, and Hashtag Relevance, so you know why a post is likely to perform, not just a number with no explanation. Use it to catch what’s weak before you publish, not after.
Stage 4: Image
Generate a visual right here, or pull an existing one from your Media Library — no separate design tool required. Same as the Article Pipeline’s Enhance stage: the art gets made as part of finishing the post, not as a separate errand you do somewhere else.
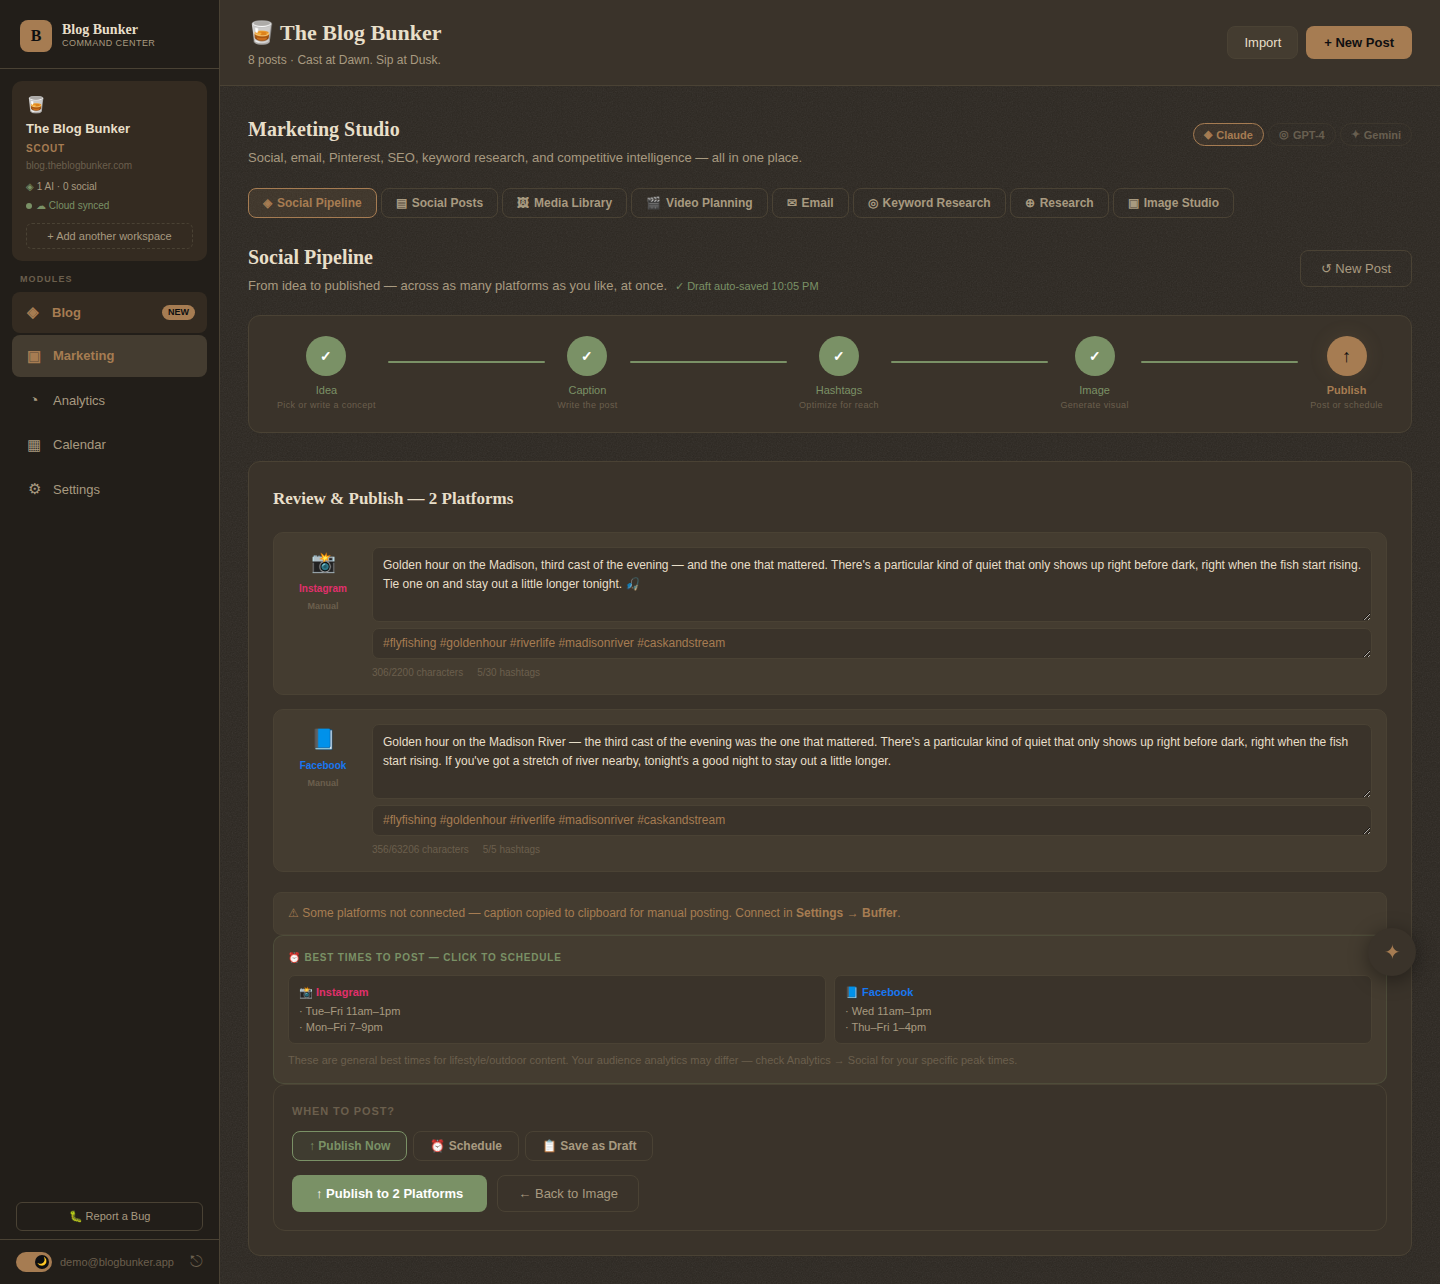
Stage 5: Publish
Review everything, then either post immediately or schedule it. Publishing to multiple platforms at once from a single pipeline run is the whole point of this tool — write once, adapt automatically, ship everywhere.
What’s next
Once it’s live (or scheduled), it shows up on your Calendar right alongside your blog posts, and feeds into your performance numbers under Analytics.
Leave a Reply