

New to Blog Bunker? This is the one to start with. It’ll take about five minutes, and by the end your account is ready to write and publish your first real post.
Step 1: Sign in
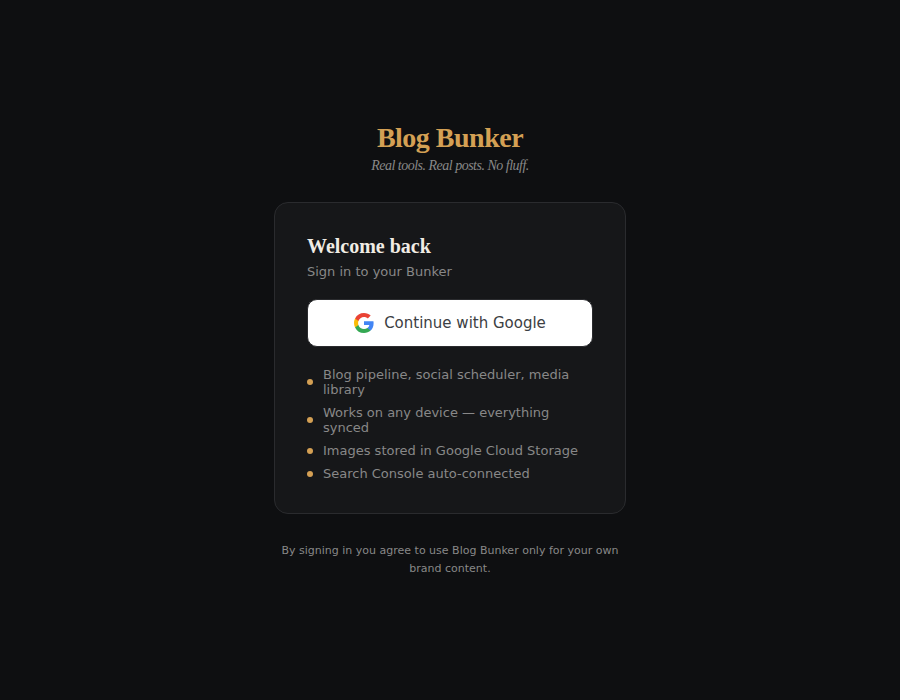
Blog Bunker uses Google sign-in — no separate password to create or remember. Click Sign in with Google, pick the account you want tied to your blog, and you’re through the door.
Step 2: Tell Blog Bunker about your blog
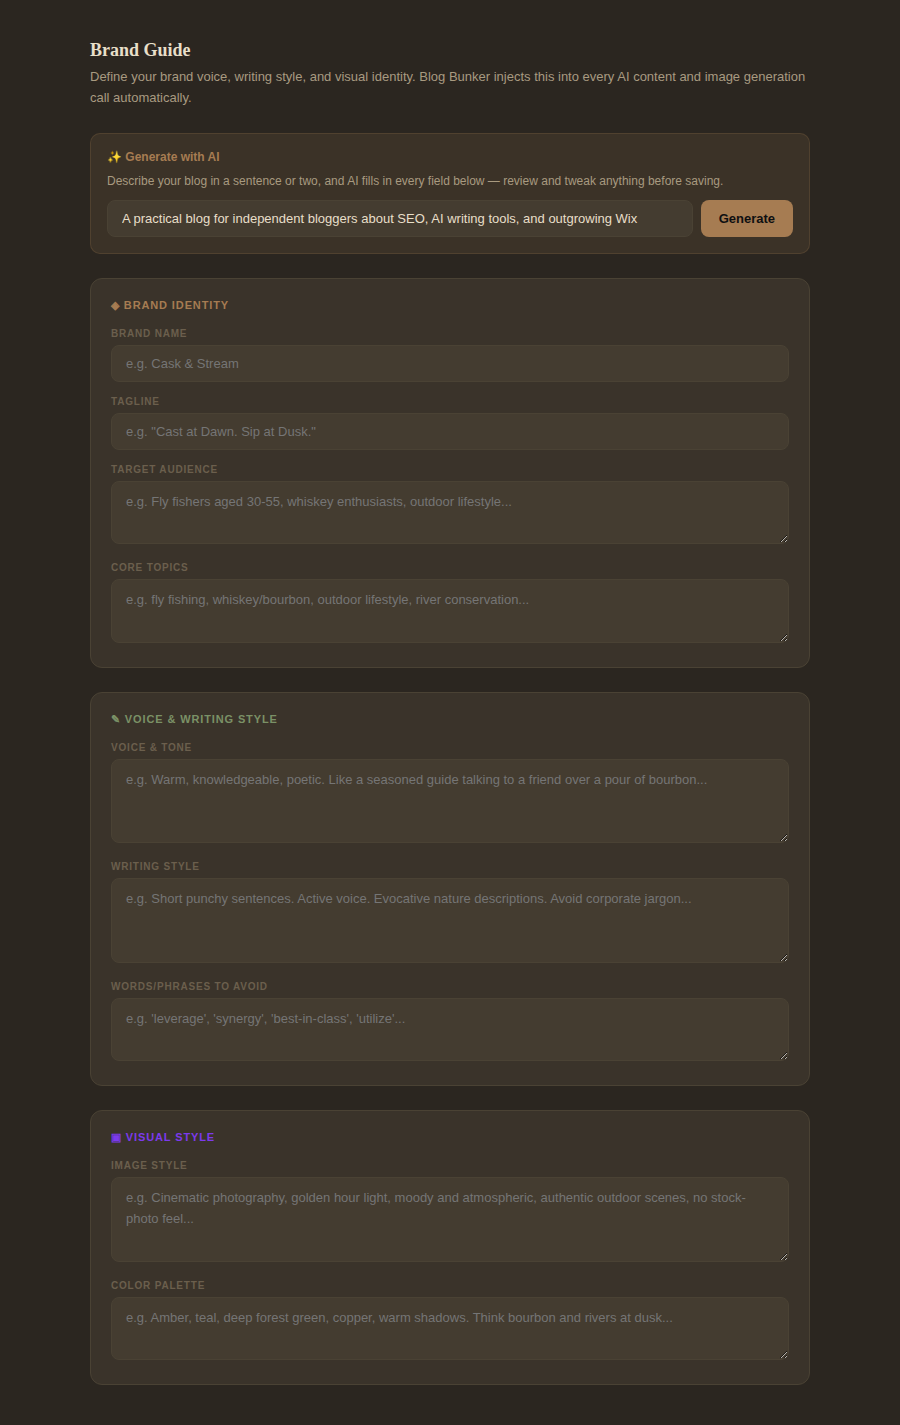
This is your Brand Guide — it’s what lets the AI drafting sound like you instead of a generic AI voice. You’ve got two ways to fill it out:
- The fast way: describe your blog in a sentence (“a fly fishing and whiskey blog with a laid-back, know-it-when-you-taste-it voice”) and click ✨ Generate with AI — it fills in your tagline, audience, topics, voice and tone, writing style, and more for you to review.
- The manual way: fill in each field yourself if you already know exactly how you want it worded.
Either way, you can always come back and refine this later from Settings — it’s not a one-time decision.
Step 3: Connect WordPress
If your blog runs on WordPress, this is where you connect it — and it’s genuinely the flagship piece of what Blog Bunker does, so it’s worth getting right up front.
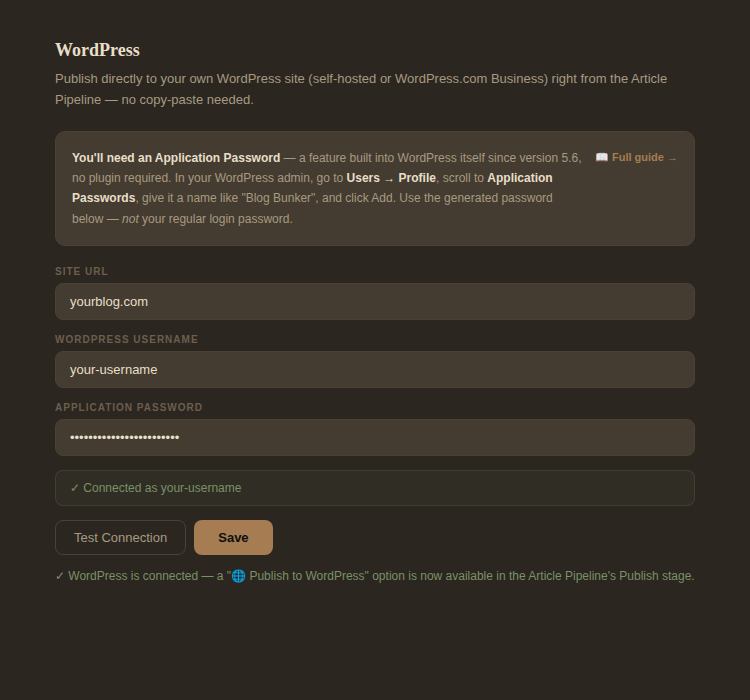
You’ll need a WordPress Application Password, not your regular login password. Here’s where to get one:
- In your WordPress admin dashboard, go to Users → Profile (or Users → Your Profile)
- Scroll down to Application Passwords
- Give it a name like “Blog Bunker” and click Add New Application Password
- WordPress will show you a password once — copy it immediately, you won’t see it again
- Paste that into Blog Bunker’s WordPress connection field, along with your site’s URL
This is a real WordPress feature built into core — no plugin required. If you don’t run WordPress yet, or want to connect it later, you can skip this step for now.
Step 4: Choose your plan
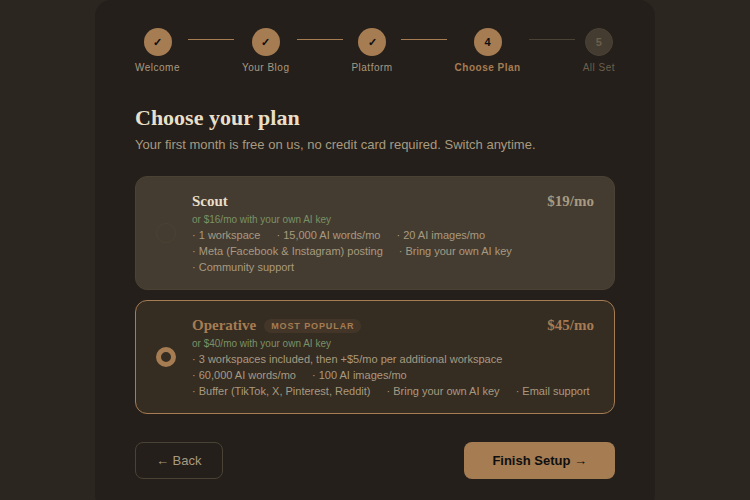
Your first month runs on Scout, completely free — no card required. Explore the real app before deciding on anything. If you already know you want Operative’s larger AI allowance and full channel lineup, you can pick that instead.
Step 5: You’re in
That’s it — you’re looking at your dashboard now. A quick map of what’s where:
- Blog — your Article Pipeline (where posts get written) and Research tools
- Marketing — your Social Pipeline, Media Library, and Image Studio
- Analytics — your Blog Health Score and performance
- Calendar — everything scheduled, blog and social together
- Settings — your Brand Guide, connections, and plan
Next up: The Field Manual 02 walks through writing and publishing your actual first post, start to finish.
Leave a Reply